How to Seam a Hat in Knitting (No Needle)
Crochet How to Join a Chain (CH) with a Slip Stitch (SL ST) tutorial by Ashley Lillis
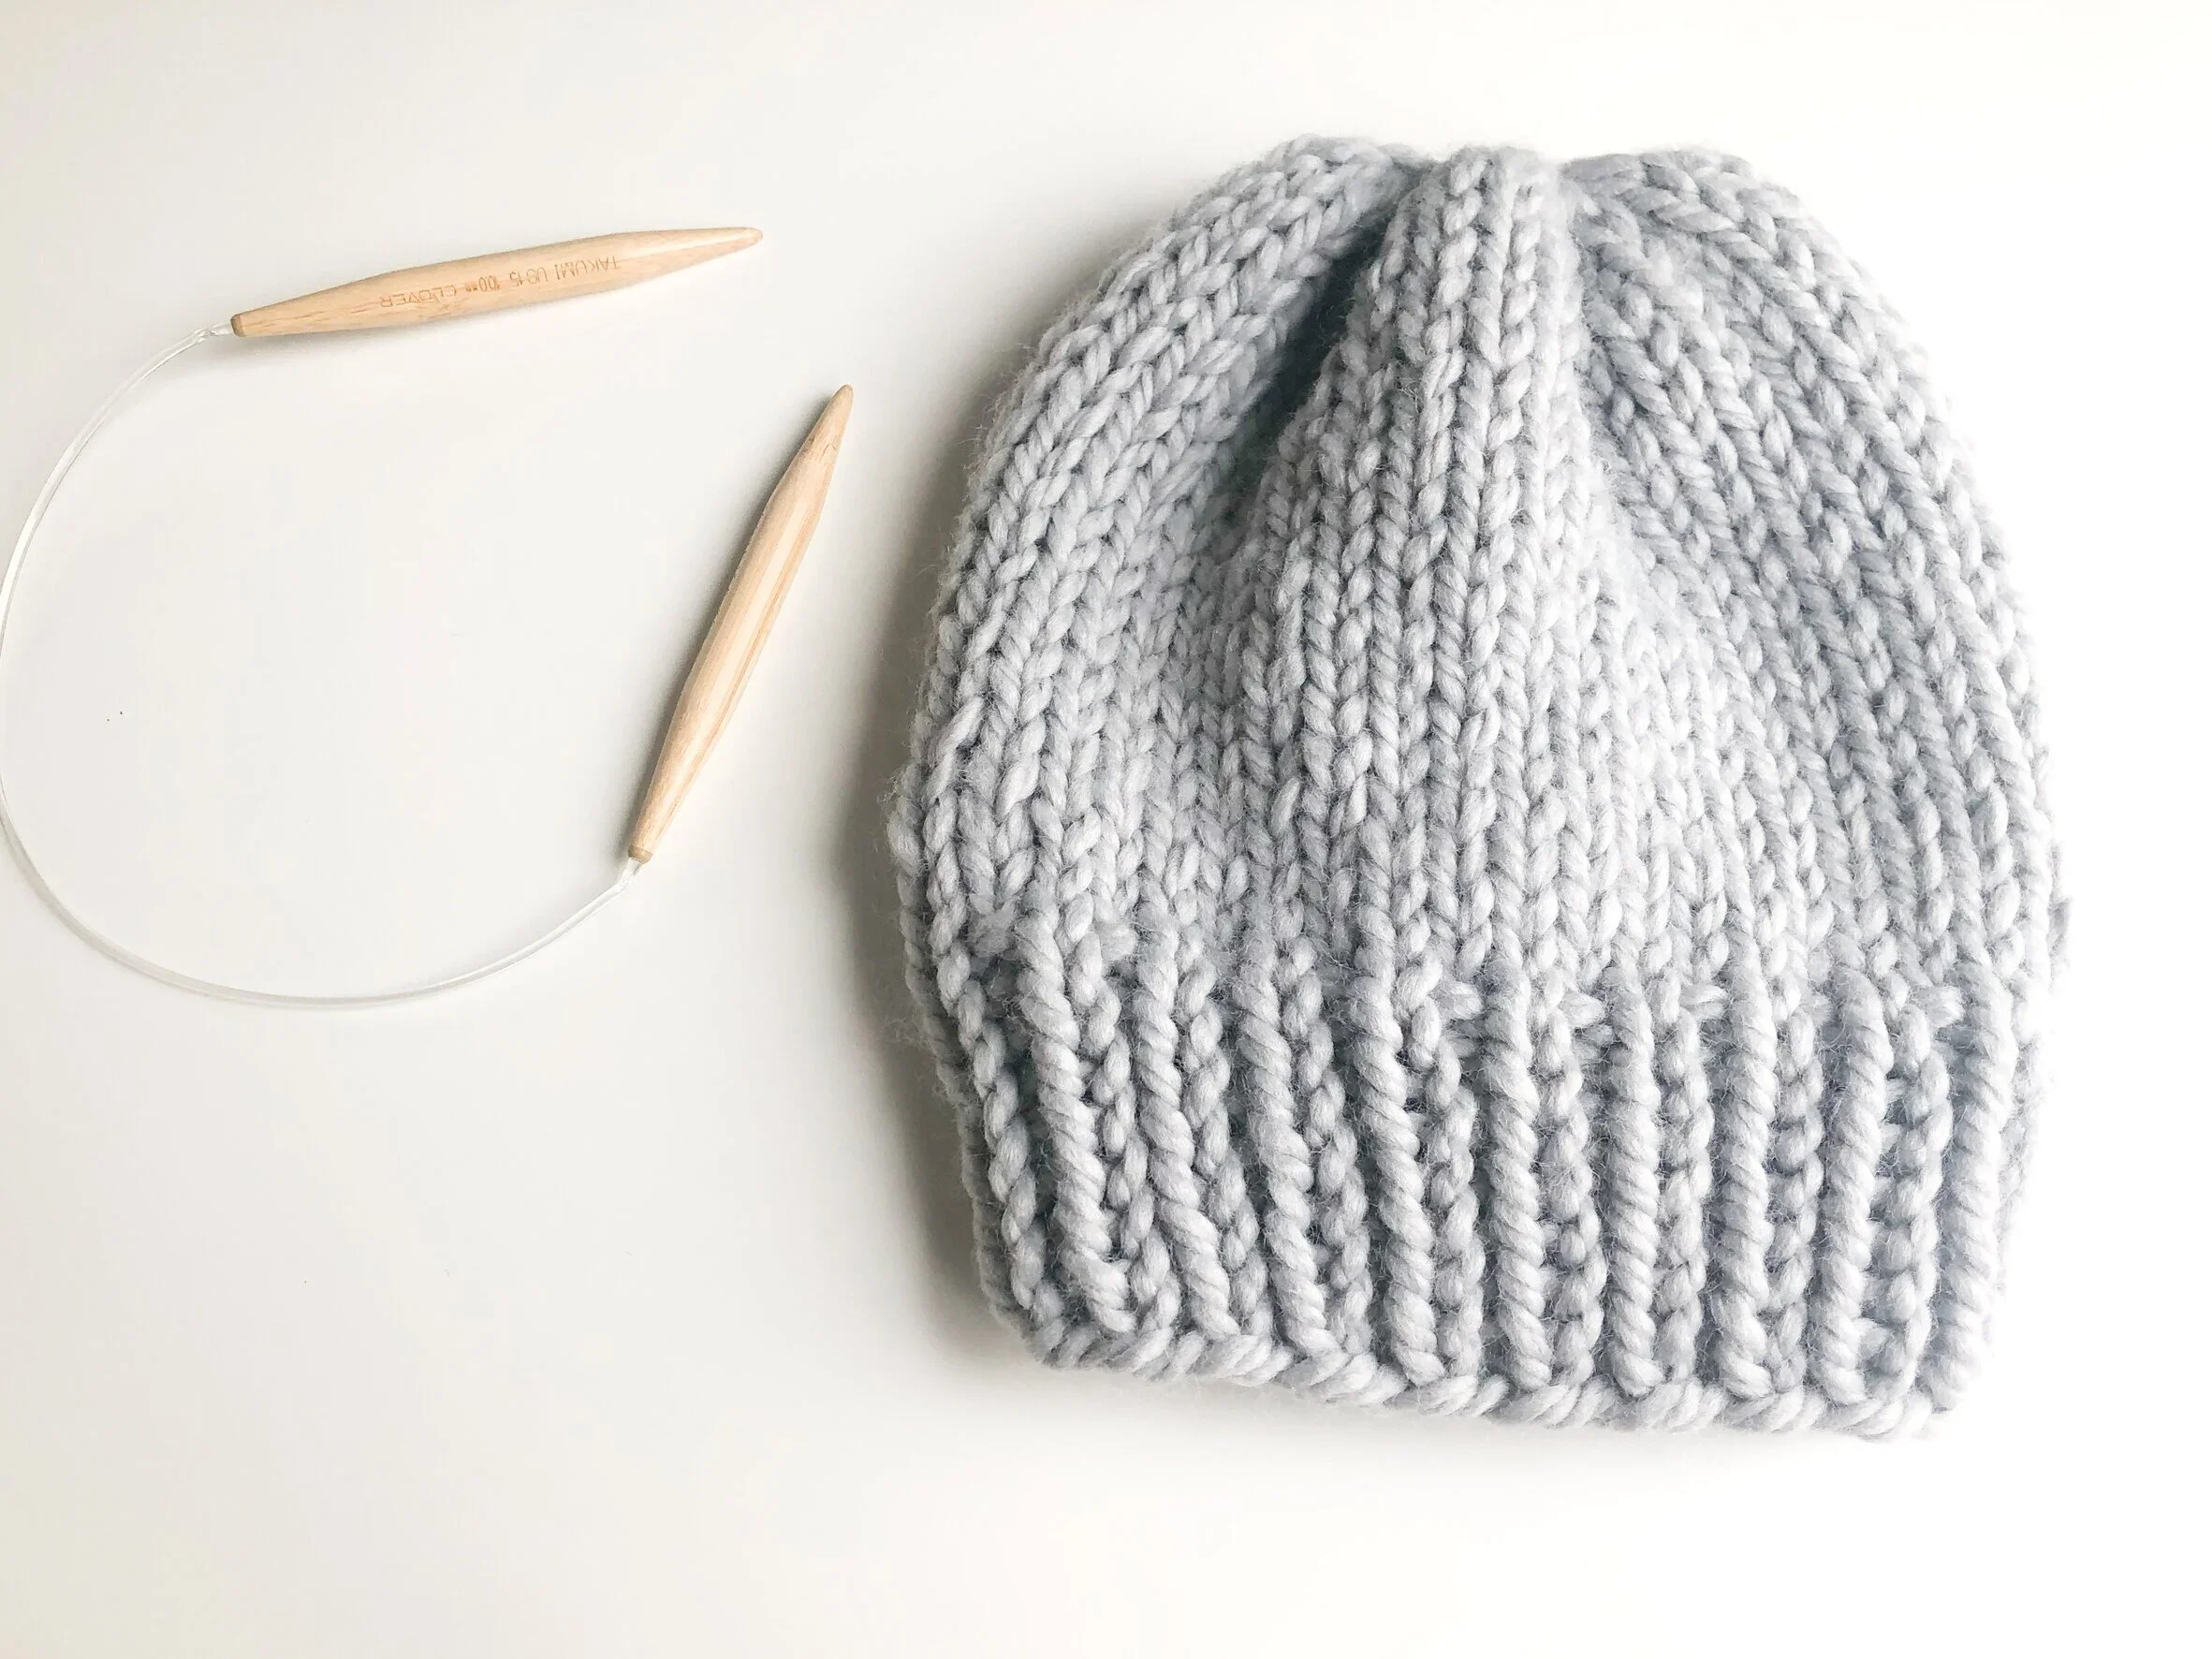
Sometimes you don’t have a tapestry needle handy — but that doesn’t mean your knit hat has to wait for its finish. This method shows you how to seam a hat the simple way, right from your knitting needle, by working two stitches together and pulling your tail through to secure the seam. It’s a quick, practical solution that gives you a neat, secure finish without extra tools, perfect for knitters on the go or for those moments when your tapestry needle is buried in a drawer.
Whether you’re closing up a beanie after knitting in the round or seaming a flat piece into a tube, this technique helps you finish cleanly and confidently with just the yarn tail and your working yarn — no needle required.
Simple Steps: Seaming a Hat Without a Tapestry Needle
Leave a long yarn tail
When you’re ready to seam the hat, make sure you have a long enough tail to work with before cutting your yarn.Insert your needle into two stitches
With your knitting needle, insert you right hand needle into the next two stitches on your left hand needle.Knit the two stitches together
Knit these two stitches together just as you normally would.Pull the yarn tail through
Pull the yarn tail completely through the two stitchesRepeat across the round
Continue knitting 2 stitches together all of the way around to your beginning of round markerSecure and weave in the end
Once you reach the end, pull snug (not tight), secure the tail, and weave it in as needed.
Watch the Full Video Tutorial
My Pattern Library is designed with beginner knitters in mind and includes many easy patterns with accompanying video tutorials.