KNIT | How to Knit the Applied I-Cord Edge
How to Knit the Applied i-cord Edge
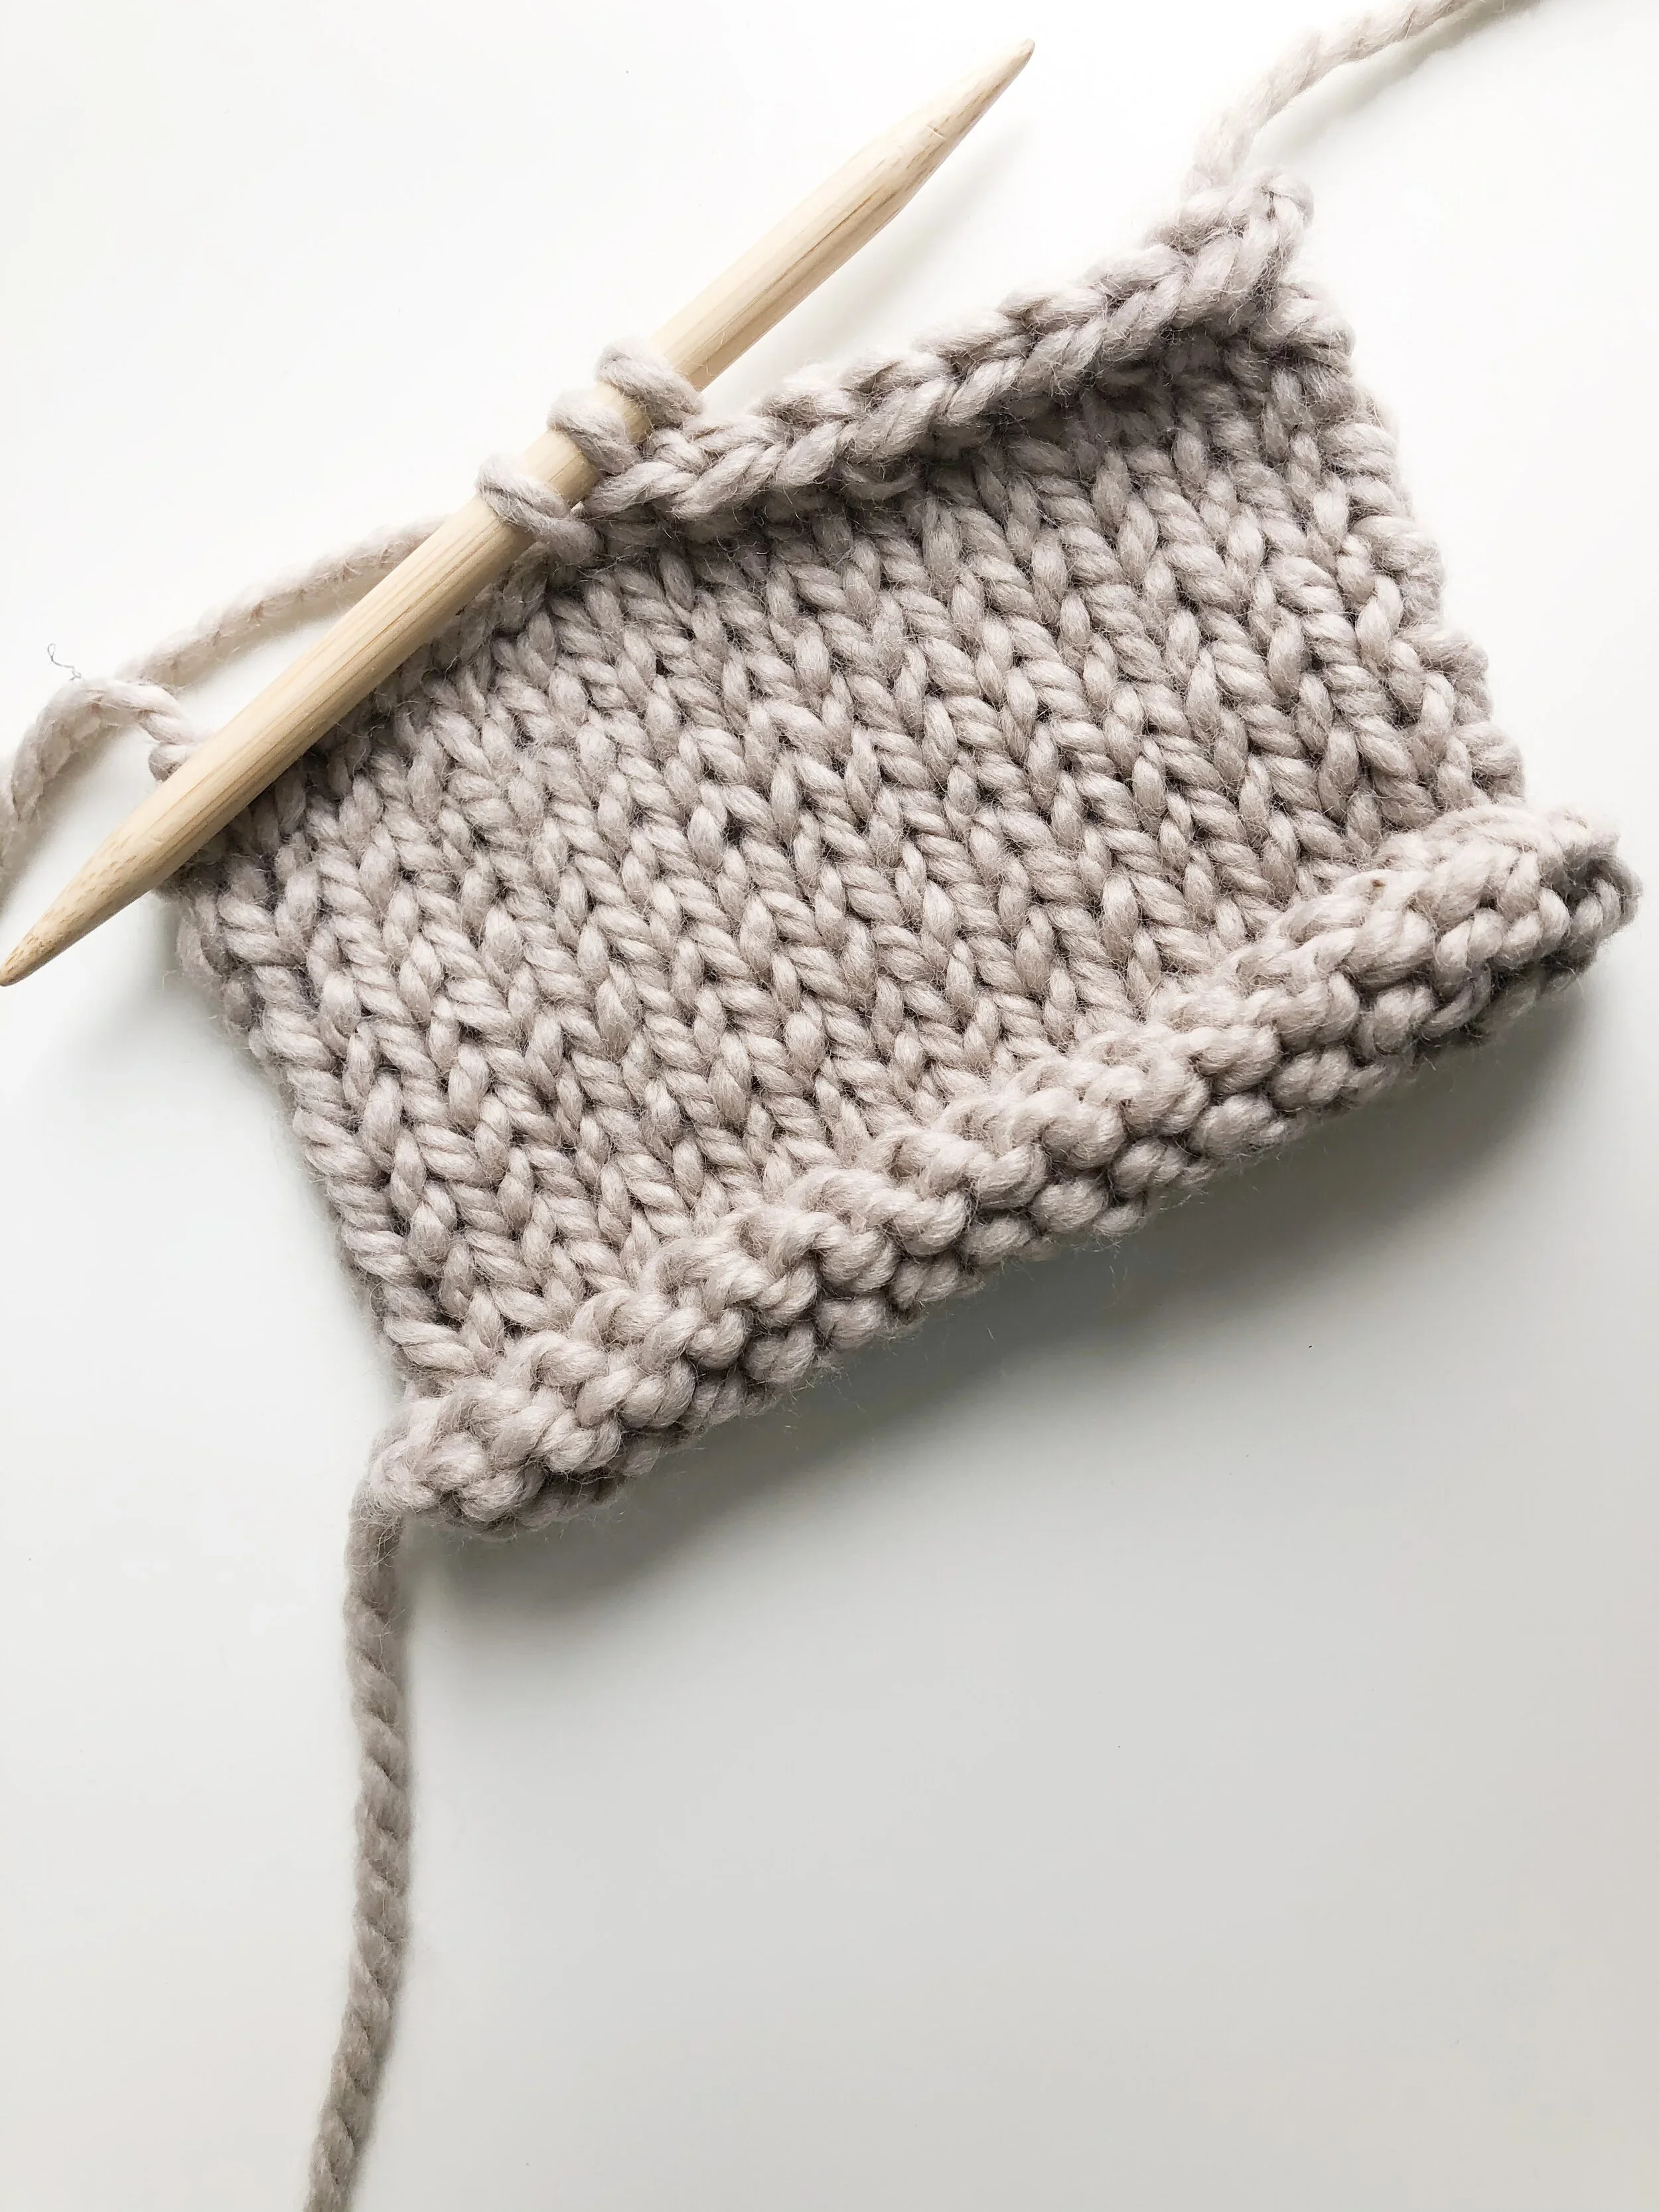
An applied I-cord edge is one of those finishing techniques that instantly makes your knitting look polished and intentional. Instead of picking up stitches and sewing on a separate border after the fact, you knit the cord onto the edge of your work as you go. The result is a smooth, rounded finish that frames your piece beautifully — perfect for blankets, scarves, cardigans, and shawls.
While the idea might sound a little fancy, the method itself is very approachable. Once you understand how to wrap the yarn and work the stitches along the edge, knitting an applied I-cord becomes a rhythmic, satisfying way to tidy up raw edges and give your project a professional look. This guide walks through the steps so you can add this versatile finish to your knitting with confidence.
How to Knit the Applied I-Cord Edge
1. Cast on 2 stitches
2. Pick up + knit the stitch into the work where you're applying the i-cord
3. Slide the 3 STS to the other side of the needle
4. Switch needles to left hand and K1, SSK, slide STS to other side
Repeat steps 2-4
Watch the Full Video Tutorial
My Pattern Library is designed with beginner knitters in mind and includes many easy patterns with accompanying video tutorials.