How to Change the Gauge of Your Knitting Patterns | Gauge Converter Tool
How to Change the Gauge of Your Knitting Patterns | Gauge Converter Tool
One of the most-asked questions I get every time I publish a pattern is how to change the pattern to knit it in a different gauge. If I make a sweater in super bulky weight yarn on 9mm needles, a lot of people are looking to make it in a worsted weight yarn, for example, on 5 mm needles. I love it and I get it but I knew there had to be a way to help you guys out more than just making you wait it out for different versions of a pattern. And let’s be honest, if I convert my patterns to worsted weight yarn, others will want it in a different weight as well!
I knew there had to be a way to help you guys out (while also helping me out!). I took the time to create a tool that will help you convert patterns to different gauges. It’s actually something that I created for myself that I use on my own in many different ways.
The Gauge Converter Tool is an Excel Spreadsheet (or Google Sheet) with sections for Gauge 1 and Gauge 2 for you to understand the relationships between stitch counts and width, rows and length between two different gauges. The tool also comes with a PDF guide that walks you through the tool in more details. The video below also explains how to use it.
Watch the Video Tutorial Using My Gauge Converter Tool
Here’s how to use the Tool the Gauge Converter Tool
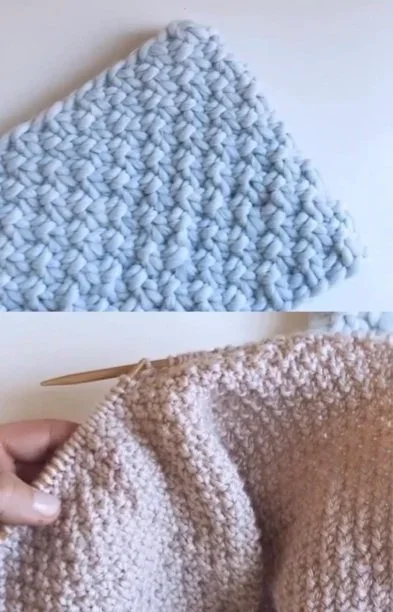
Step 1: Swatch Your Gauges
Swatch your gauges (or at least your desired gauge) and enter those into the Gauge 1 and Gauge 2 sections of the spreadsheet.
Step 2: Take Note of Stitch Counts
Use the original pattern to understand the major sections needed to construct the item and write those down with the stitch or row counts for each of those sections.
Step 3: Determine Width + Length Requirements
Enter the major stitch counts on Gauge 1 side to determine the width or length of each of those important sections.
Step 4: Determine New Stitch Counts
After you determine the width and length of critical components of the pattern, you will move over to the Gauge 2 section of the tool and convert each width or length into the new gauge.
Step 5: Knit the Item in the New Gauge
Now that you have all of the necessary stitch and row counts for the item you want to knit, you can reference the original pattern but replace the original stitch and row counts with the new stitch and row counts.
My Pattern Library is designed with beginner knitters in mind and includes many easy patterns with accompanying video tutorials.